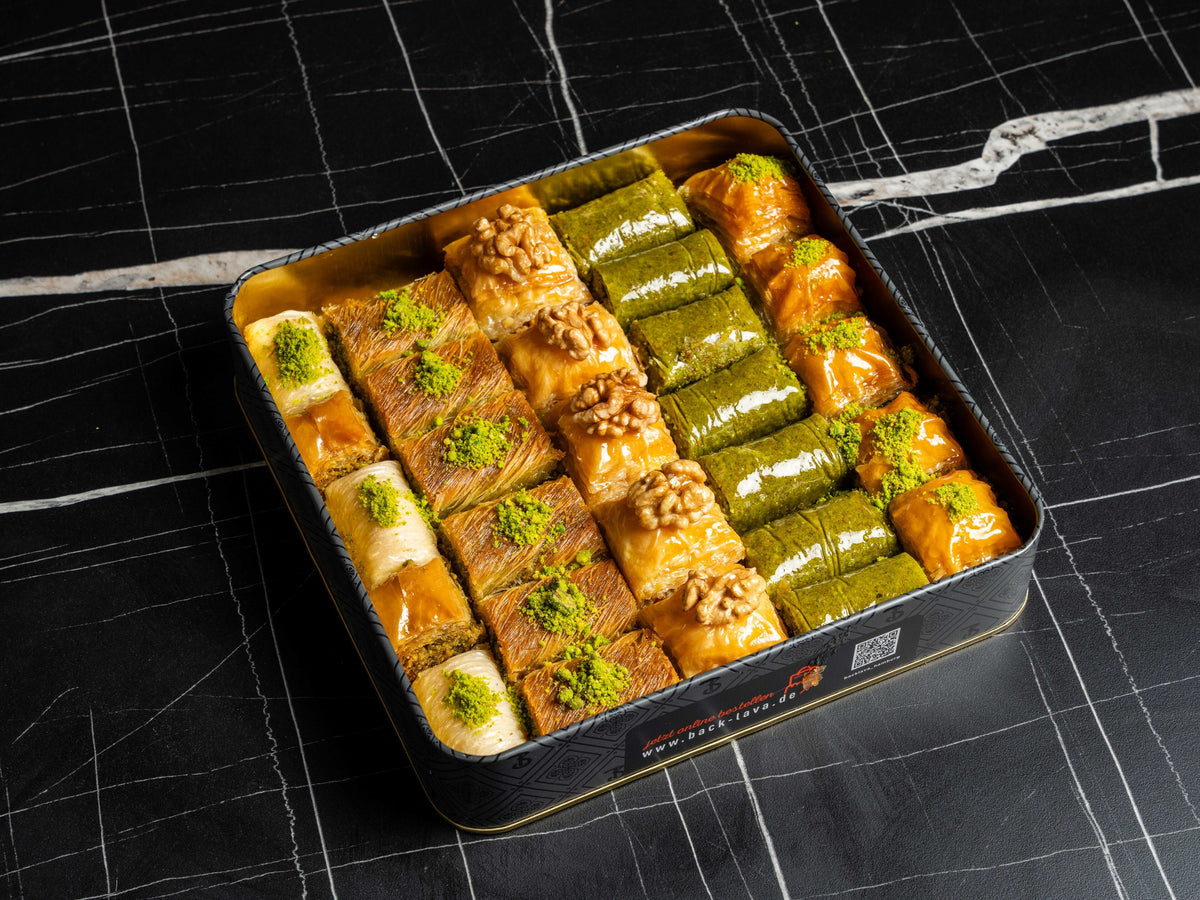
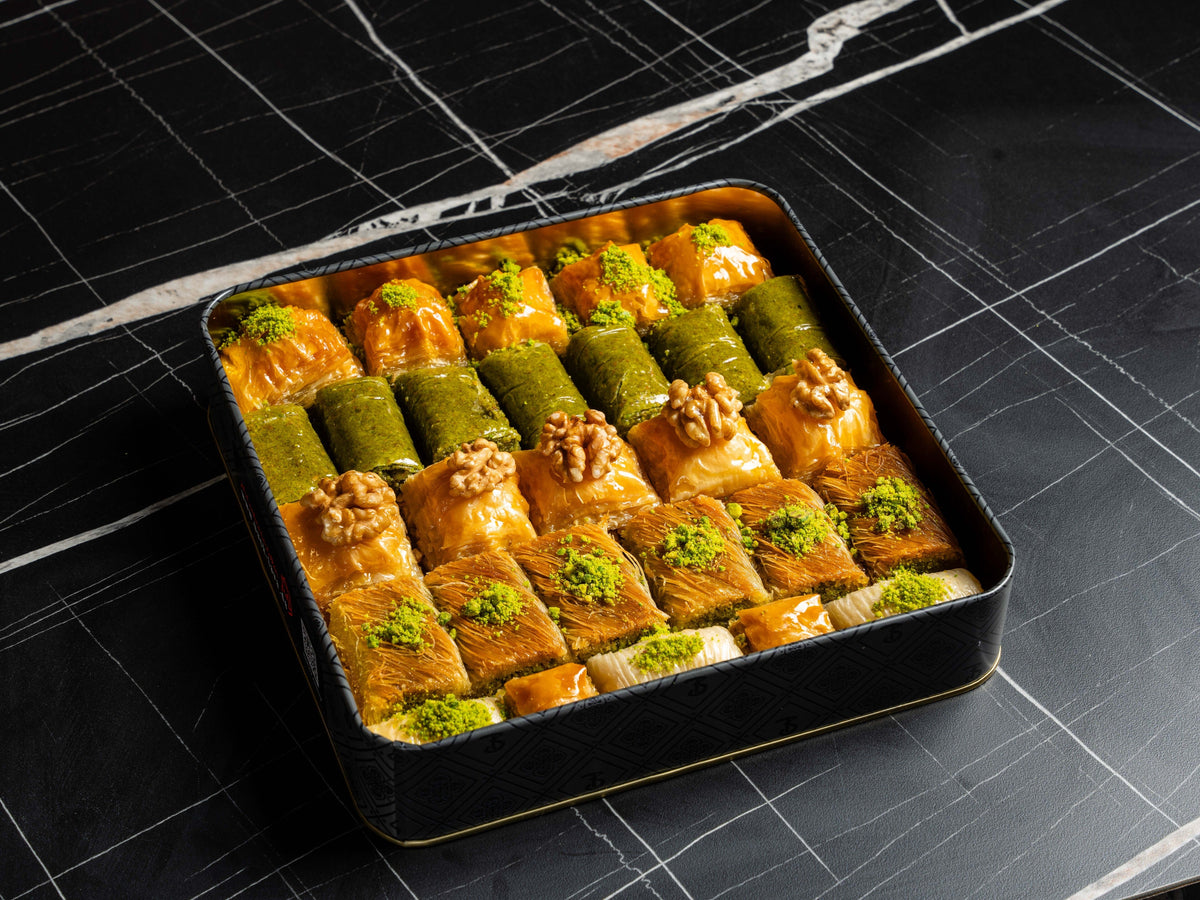
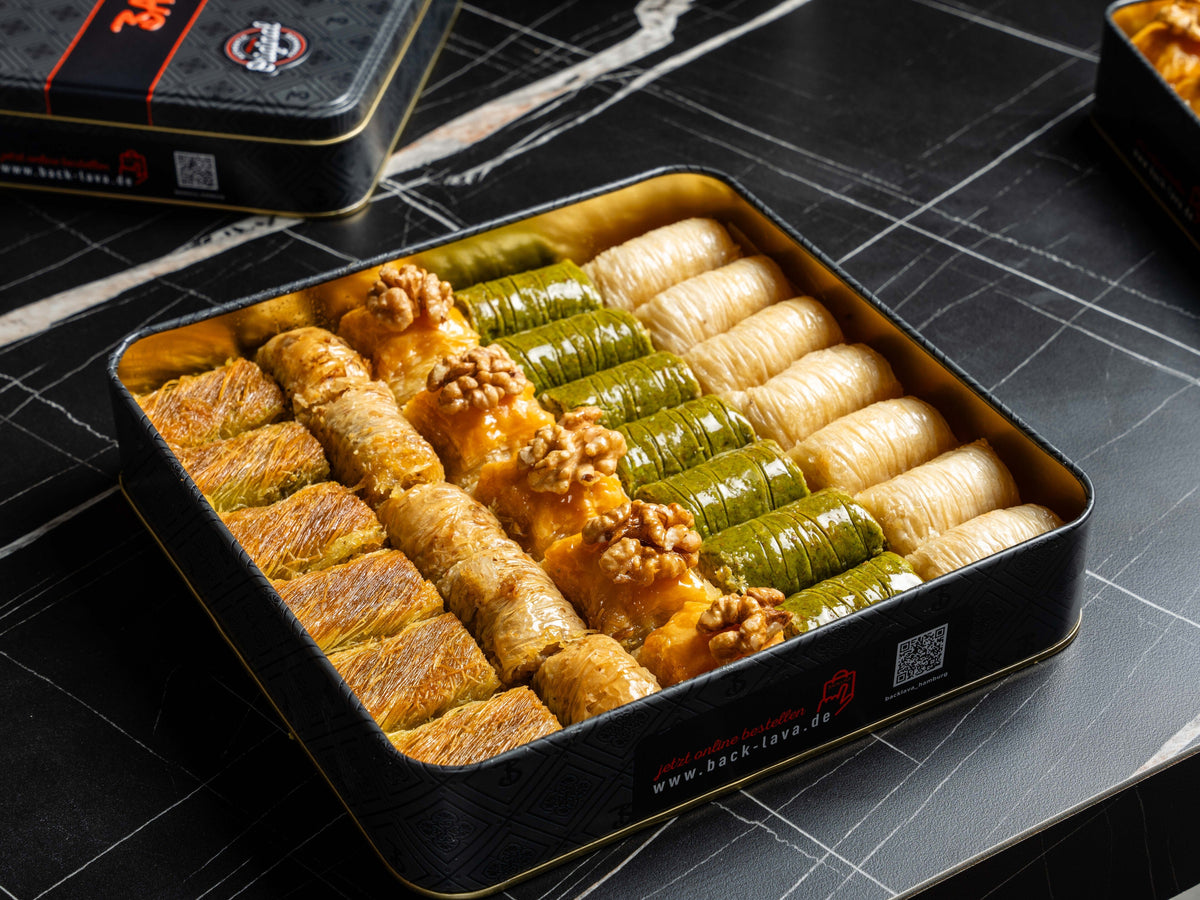
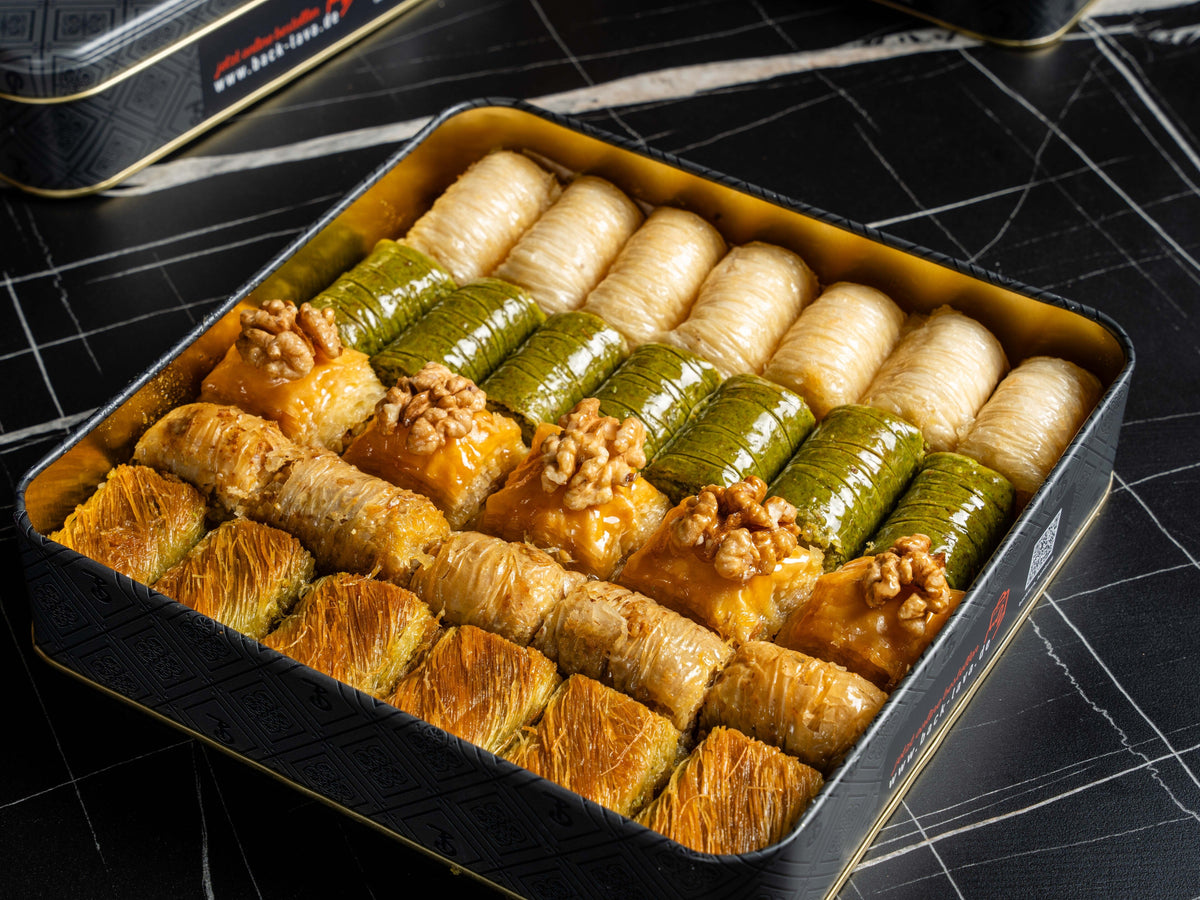
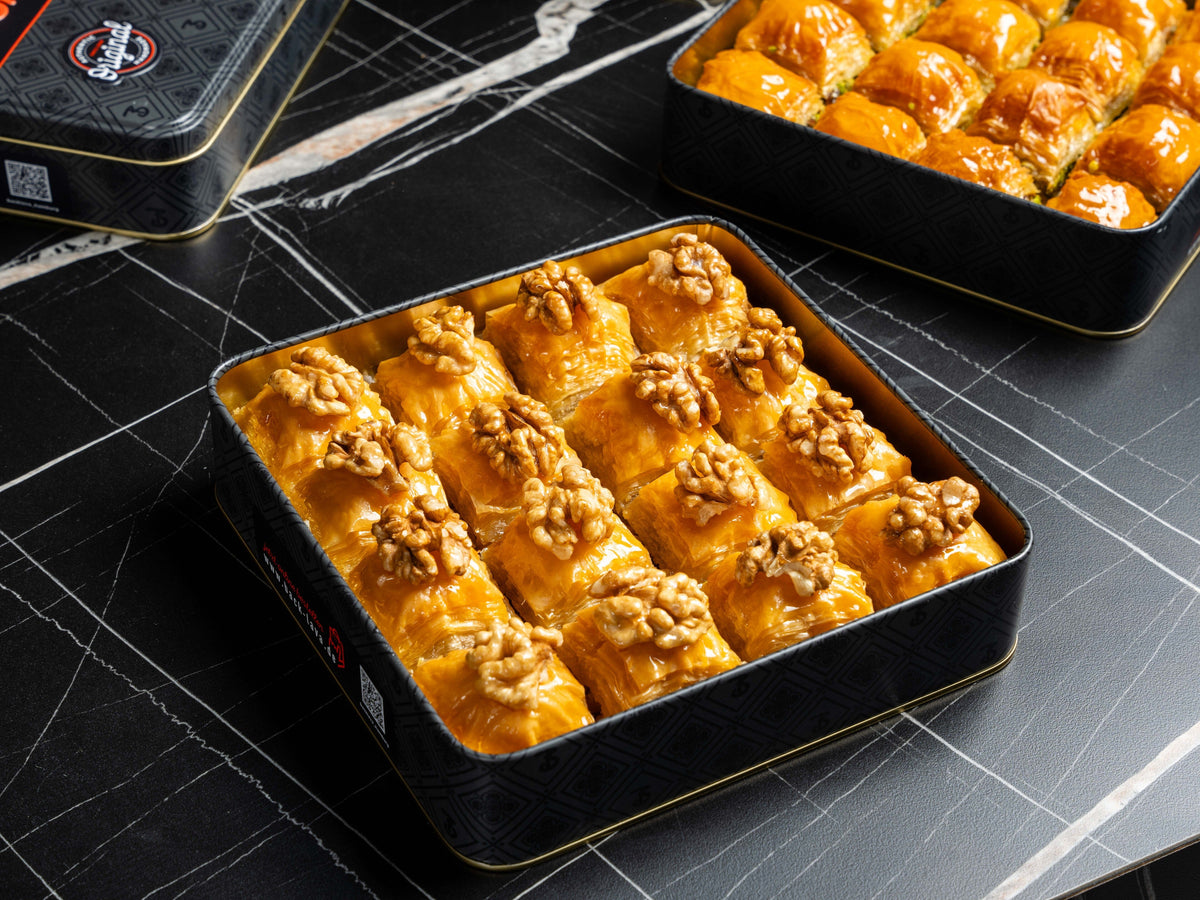
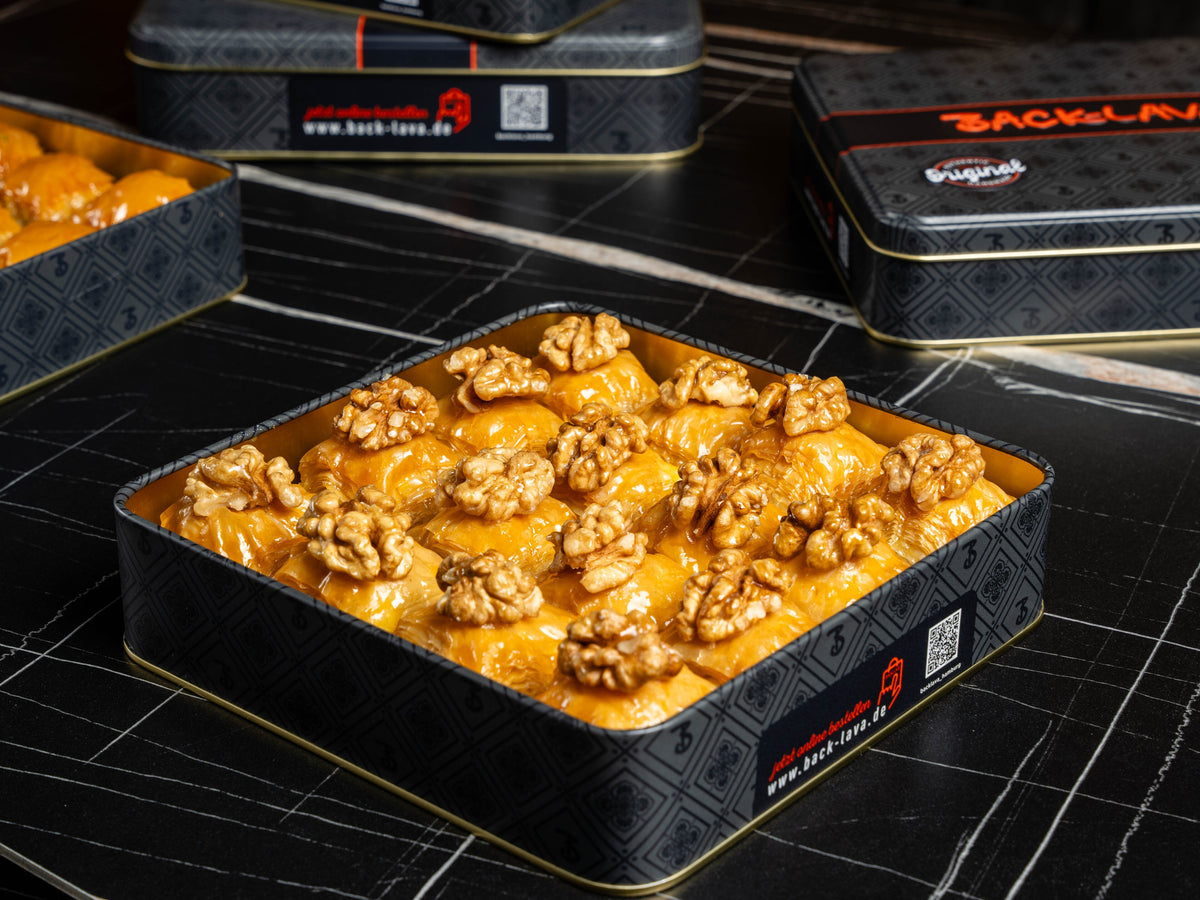
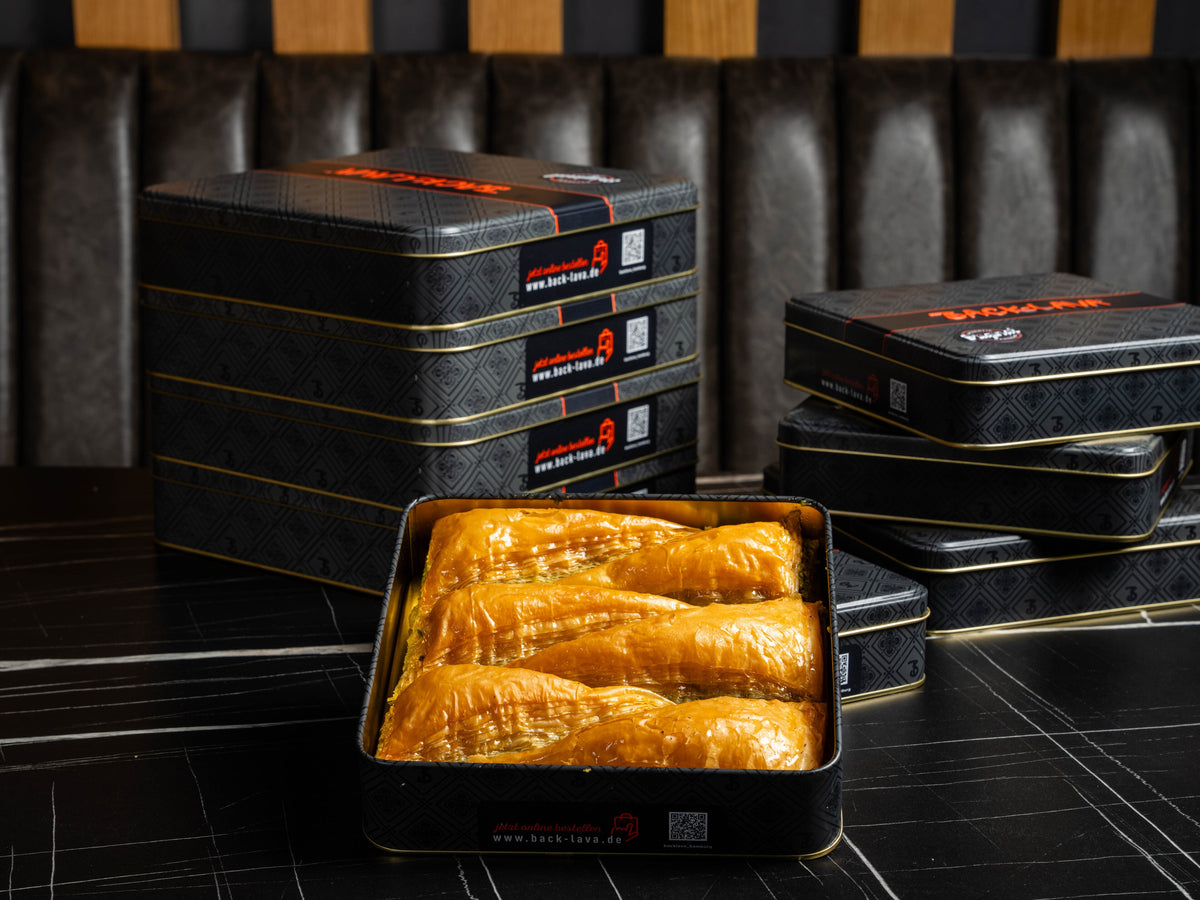
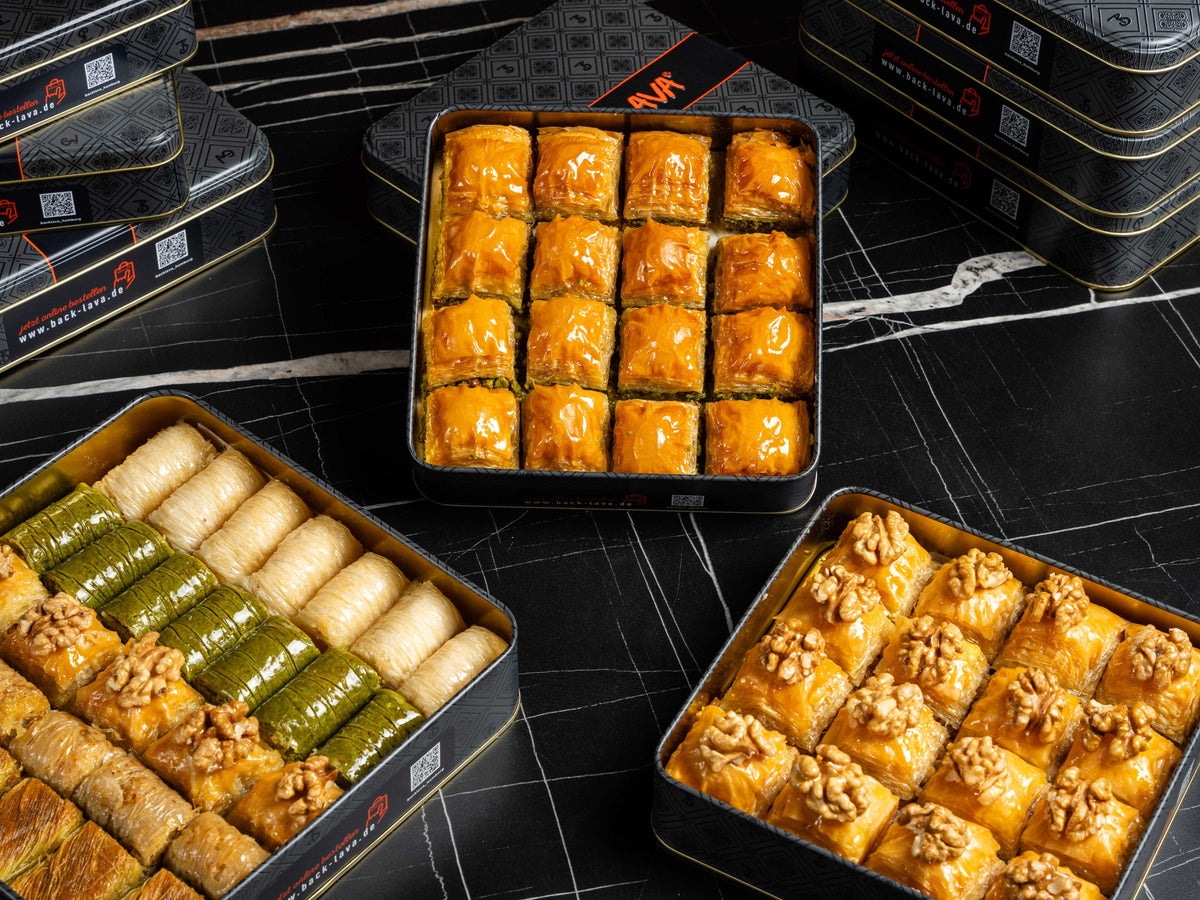
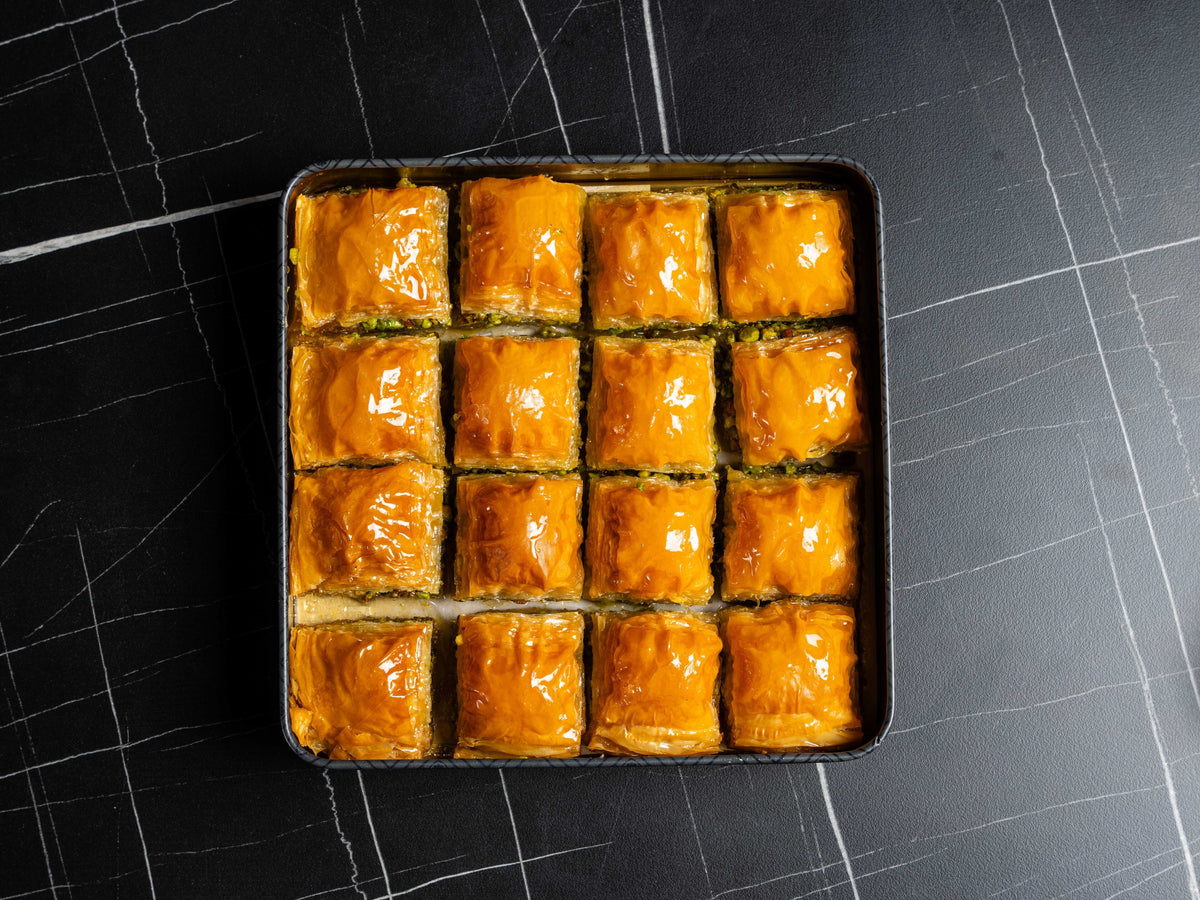
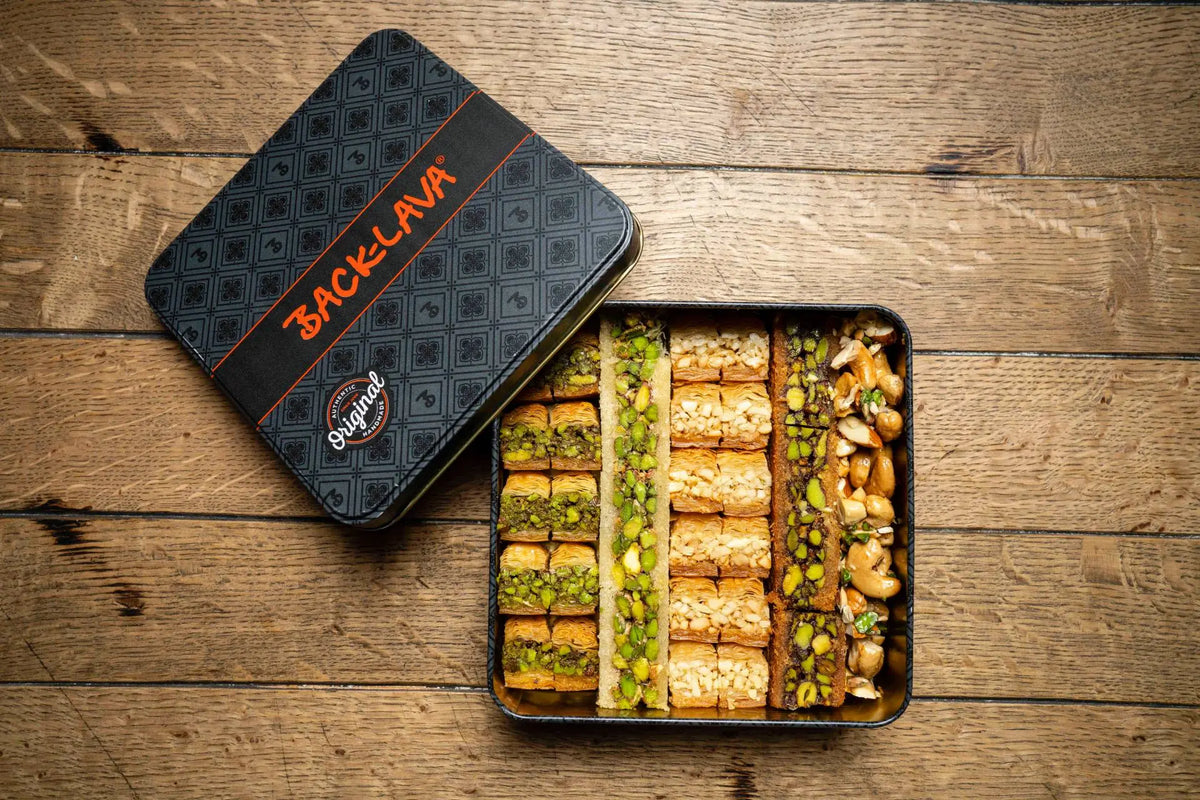
Pistachio baklava looks elaborate at first glance, but with clear instructions it is very doable. The key is crisp pastry sheets, an aromatic nut filling and a well-matched sugar syrup that keeps the pastry moist without making it soggy. This recipe for Classic Baklava with Pistachios takes you step by step through preparation, layering, baking and soaking. That way, even beginners can make baklava with a result that tastes nutty and sweet, has a delicate sheen and can be cut into neat portions.
Easy homemade pistachio baklava
Baklava thrives on contrasts: crisp on the outside, moist on the inside, with a filling full of character in between. That is exactly why this recipe is so popular – it clearly shows how a few simple steps give you a result reminiscent of good patisserie. If you want to make baklava yourself the easy way, you'll benefit from a logical sequence without unnecessary tricks. The combination of pistachios, delicate butter and sugar syrup creates an intense aroma that tastes neither heavy nor flat. Especially helpful for beginners: every step stays easy to follow, and mistakes are easy to avoid.
Ingredients for pistachio baklava
For a standard baking tin of about 20 x 30 cm, you will need 300 g of filo pastry sheets , 200 g melted butter, 250 g chopped pistachios, 100 g finely chopped walnuts, 120 g sugar, 150 ml water, 80 ml honey and 1 tbsp lemon juice. A little cinnamon is optional, as is a pinch of salt for more depth. If you'd rather not use honey, you can replace it with a little more sugar; the character will still be distinctly sweet. Instead of walnuts, a milder nut mix also works, as long as the pistachios still set the main tone. Above all, what matters is a good base of fresh ingredients so that the texture and aroma are convincing.
Which pistachios and nuts work best?
For an intense aroma, it's worth using unsalted pistachios that are as fresh as possible – ideally green and not too dry. The more vibrant the colour, the livelier the flavour will be later on. Pistachios bring the characteristic note, while walnuts taste slightly more bitter and rustic. A nut mix can be interesting if you want more depth, but for classic pistachio baklava the pistachios should clearly dominate. The nuts are best finely chopped but not ground to a powder, so that they still have some bite. A slightly coarser chop makes the filling moister and gives it more structure.
Preparing the tin, pastry and oven
Before you start, brush the tin with a little butter so that the first layers don't stick. At the same time, preheat the oven to 170 degrees (top and bottom heat) so that the pastry bakes evenly later. The pastry sheets can be cut to the size of the tin with scissors or a sharp knife; it's better to work carefully than to tear them. While you work, it's best to cover them with a slightly damp cloth so that they don't dry out and become brittle. Once everything is prepared, you can work smoothly and place the layers in the tin without rushing. It is exactly this calm that makes the difference with delicate pastry.
Layering baklava: how to get the structure right
The base consists of several thin layers of pastry, each brushed in turn with melted butter . For good stability and delicate crispness, six to eight sheets on the bottom make sense, each thinly brushed with butter. Then comes a layer of nut filling, followed by several more layers of pastry. This alternation is repeated until all the ingredients are used up. Each layer should be laid flat in the tin so that no air bubbles form and the pastry rises evenly later. The top layer can be brushed generously with butter, as it gives the golden colour during baking. If you distribute the layers neatly, you'll get stable pieces with a clear structure and a pleasant bite.
Cutting baklava with a sharp knife
Cutting before baking is important because it makes the pastry much easier to portion neatly later. With a sharp knife , cut classic diamonds or rectangles straight into the unbaked layers in the tin. Press only lightly so that the lower layers aren't squashed. An even pattern not only looks beautiful but also helps the baklava bake evenly. Calm, careful work pays off, especially with delicate filo pastry, because a tear in the wrong place is almost impossible to correct later. Take care with the blade, as the buttery surface can quickly become slippery.
Baking until golden brown: temperature and baking time
Baklava needs constant heat so that the pastry layers become crisp and the nut filling doesn't dry out. At 170 degrees, baking usually takes 35 to 45 minutes, depending on the tin and the oven. It's ready when the surface is evenly golden brown and the top layers lift slightly. If the surface darkens too quickly, loosely covering it with baking paper or aluminium foil can help. A well-preheated oven is important so that the pastry gets structure from the start. Too low a temperature makes baklava pale and soft rather than crisp and elegant.
Sugar syrup or honey baklava?
The classic base is a hot sugar syrup that gives the pastry shine and moistness. To make it, sugar and water are brought to the boil until everything has dissolved; lemon juice keeps the syrup from turning crystalline. Honey baklava tastes rounder, warmer and a little heavier, while the pure sugar version stays clearer and lighter. If you'd like a stronger aroma, you can increase the proportion of honey to create a subtle honey baklava note. A squeeze of lemon juice is especially useful if the syrup turns out very sweet or has been boiled for longer. This keeps the sweetness balanced rather than sticky.
Letting baklava cool and soak properly
After baking, take the baklava out of the oven and let it rest for about five minutes. Then pour the syrup over the still-hot pastry or spoon it over so that it soaks into the layers. The aim is not to drown everything, but to moisten the pastry layers in a targeted way. If you don't cut or move the baklava straight away afterwards, it will stay crisper. Letting it cool completely takes patience, because the typical texture only develops properly after several hours. For the best result, let the baklava soak overnight.
Garnishing with the remaining pistachios
The remaining pistachios go over the pastry at the very end and add a fresh contrast of colour. Finely chopped, they spread elegantly over the pieces and instantly show that this is pistachio baklava. The garnish isn't just decorative – it also adds an extra nutty accent to the first bite. If you like, sprinkle the pistachios onto the still slightly moist surface right after adding the syrup so that they stick better.
Storing, serving and frequently asked questions
Baklava keeps for about 5 to 7 days at room temperature in a container with a tight-fitting lid – ideally dry and not in the fridge. It goes well with strong coffee, black tea or as part of a small dessert buffet after a meal. If you like, serve fresh fruit or a little unsweetened yoghurt alongside as a contrast. Crispness is best preserved if the pastry is not stored in humid air. Freezing is possible, but preferably unbaked and without syrup; fully soaked pieces often lose their structure. For celebrations, baklava can easily be prepared the day before, as the flavour becomes even rounder after soaking.
Pistachio baklava: a foolproof treat to serve
If you work carefully with the pastry, butter, syrup and baking time, you'll get a pastry with a fine balance of sweetness, crunch and nutty aroma. That's exactly what makes classic pistachio baklava so popular: it looks festive, is easy to portion and often tastes even better on the second day than when fresh. This recipe is therefore a reliable choice for guests, gift boxes or as a special treat with coffee. With a little patience and a good knife, you'll create a result that looks impressive and whose flavour lingers long after.